
My love for food has inspired me to explore and learn diverse kinds of dishes. I am no chef but I do my best to learn everything I can, especially when it comes to different ways to cook food, particularly meat. At first, I thought searing and broiling were just the same, but boy, was I wrong.
Searing is a method of cooking where the food (most of the time meat) is cooked at a very high temperature in a pan with little oil. The point of searing is to develop a caramelised crust and turn the meat dark brown without thoroughly cooking it. However, it is still different from browning, wherein it only lightly cooks the food or meat’s outside.
But there is more to searing than developing crust and giving the food a dark brown colour.
Why Sear Food?
Many are asking why sear food first instead of creating the crust and dark brown colour in the latter part of cooking. I used to ask the same question but I have learned that searing is more than that; it is actually about developing more flavour on the food.
By searing the meat first, the crust’s caramelised flavours give the meat and the overall dish an “umami” or savoury flavour. As always, curiosity got the best of me and I tried cooking the same dish – one without searing and the other I seared it first. I wanted to know if there would be a big difference in terms of flavour.
To my surprise, the one where I took an extra step of searing resulted in a more flavourful dish. While the other dish didn’t turn out bad, I feel that something is lacking in flavour. So, if you ask me, taking that extra step is all worth it.
By the way, I also learned that searing has nothing to do with sealing in juices or making the meat more tender. It’s all about adding more flavour to the food.
How To Sear Meat
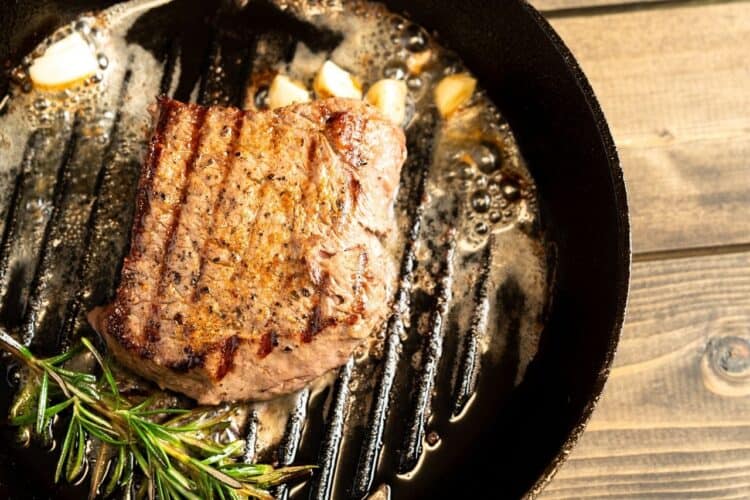
As mentioned earlier, searing is cooking meat over high heat. To do this, get a pan and add a very small amount of oil. Put your stove in high heat.
To find out if the pan and oil are hot enough, try sprinkling some water into it with your hands. If the water immediately evaporates as it touches the pan, you can start adding the meat.
How you place the meat on the pan is also important. Place the meat in a single layer and make sure that the pan is not crowded. If you crowd the pan with meat, it will get watery, and you will not achieve the dark brown and crusty outside.
Allow the meat to sizzle for a few minutes. Do not move the meat. You’ll know the meat is ready to be flipped over when you can easily release it from the pan and the bottom of the meat has a dark brown crust. Do the same thing on the other side and for the remaining meats.
Tips on Searing
To get the best results, here are some searing tips to remember.
Let Meat Sit at Room Temperature
Don’t sear meat right after taking it out of the fridge. Let it sit at room temperature first to allow its natural moisture to be reabsorbed.
Remove Extra Moisture
Using a paper towel, pat down the meat’s surface to get rid of excess moisture. Leaving the extra moisture on the meat may result in steaming and prevent the meat from getting brown.
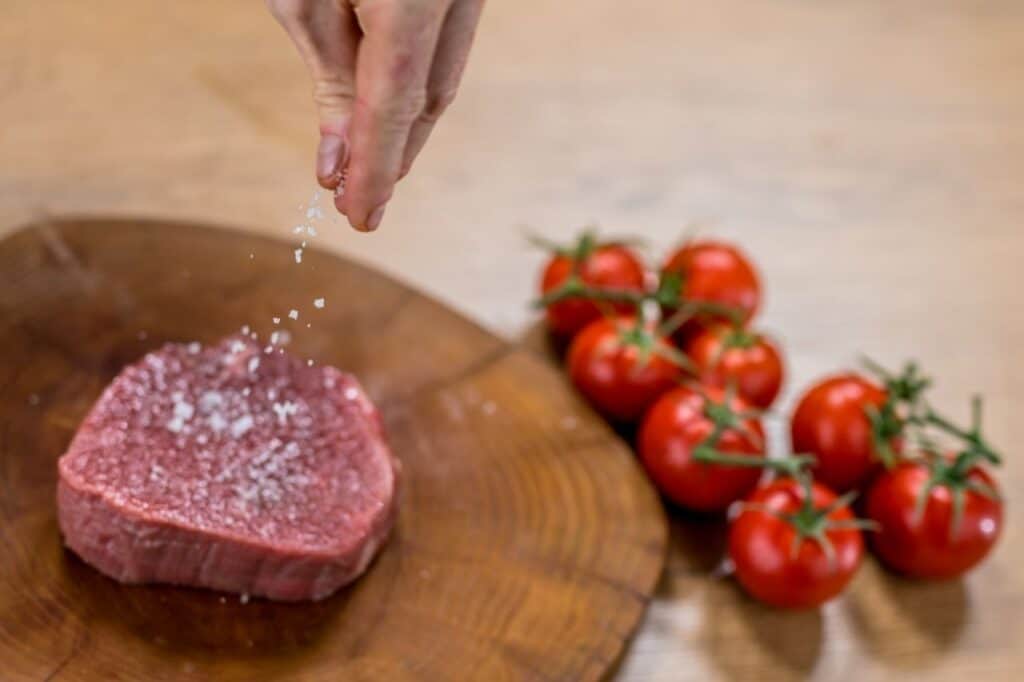
Put Salt Before Searing
Don’t add salt in between searing but rather at least an hour before or right before searing. Putting salt in between may pull moisture from the meat. However, if the meat has been marinated or brined, you don’t need to add salt.
Also, be careful if the marinade has sugar as it can quickly burn in a very hot pan. To take off extra marinade, pat-drying with paper towels will do.
Add Black Pepper After
Never add the black pepper before you sear the meat, but do it after. It may cause the meat to taste bitter as it burns easily in searing temperatures.
Don’t Use Butter
Don’t use butter as grease or other oils such as olive oil that burn and smoke at very high temperatures. Peanut oil or vegetable are great options. However, if the meat has fat, there is no need to add extra fat or grease.
Start with the Fattiest Side
When searing, look for the part where the meat has the most meat. Place that part side down. When searing chicken, start with the skin-side down. Let the meat sear undisturbed until it is ready to be flipped. Flip the meat and sear the other side.
Don’t forget to sear the ends. However, be careful when searing the ends of the roast as it may accidentally tip over and splash hot oil. You can use tongs to hold the meat or lean it on the pan’s edge for support.
Use Cast Iron
Cast iron works well for pan-searing, but other heavy and thick pans that are great at holding heat will also do.
Continue Cooking
Searing does not cook the meat completely. The inside is usually still raw. You can finish cooking by simmering on a stove, putting it in a slow cooker, or roasting it in the oven.
Is Searing the Same as Broiling?
Some people are often confused about searing and broiling. I, too, was guilty of it. It is easy to get confused since both methods of cooking add crispiness or crustiness and colour to any roasted or baked food. While both have similarities, they are not exactly the same.
For instance, broiling is more like grilling but upside-down since broiling utilises radiant heat on top. However, you can also broil meat on the stovetop and sear meat using a broiler.
One difference between broiling and searing is that the former is perfect for leaner and thinner cuts of meat such as butterflied chicken breasts, strip steaks, and pork tenderloin medallions. Searing, on the other hand, is best for thicker cuts of meat, although you can also sear lean and thin cuts of meat.
Another difference is that you sear food at the beginning of cooking, while broiling can be used at the end. For example, broiling a mac and cheese casserole at the end will give its top a good colour and crispiness.
When you sear, you don’t completely cook the meat, but with broiling, you cook the food all the way through. Simply put, searing is cooking at very high heat in an instant while broiling is cooking for a longer period and with a steady temperature.
How to Use a Broiler
Place an oven rack a few inches under the broiler element. If you want your meat or vegetables to have more char and crispiness, move a it little closer to the broiler element. However, to achieve an even browning, move the rack much further.
Put the broiler on and allow it to heat up for about 3 to 4 minutes. Unlike an oven, there is no need to preheat the broiler longer since it is all about direct and intense heat.
Set broiler to high or low (if yours has this setting), depending on how you want to cook your food. However, make sure to check on your food while it’s cooking since the heat on the broiler is very intense, and it’s easy to burn food under a broiler.
When seasoning meat for broiling, it’s best to stick to dry-rub than marinades. The marinade may splatter in the broiler and may cause a fire.
Since a broiler uses high temperature, never use it for over 15 minutes, as it can get too hot. If the meat is thick, be sure to cook it partially in an oven, then finish off in a broiler to achieve the brown and crispy crust.
Never use nonstick cookware or glass in a broiler. Glass can shatter with high temperature, and nonstick cookware may result in dangerous fumes if it reaches the same temperature as the broiler. Don’t forget to use a thick towel or oven mitts when removing the cookware from the broiler.
Also, make it a habit to drape a towel on the side of the pan or handle to let others know that it’s a hot pan and to be careful.
Related Questions
Searing is a cooking method used in baking, braising, grilling, roasting, etc., in which the outside of the meat is cooked at an elevated temperature until it forms a flavourful brown crust. The temperature must exceed 150°C or 300°F to attain the desired brown or black crust. Searing your meat enhances the flavour and gives a crusty texture to the meat’s surface.
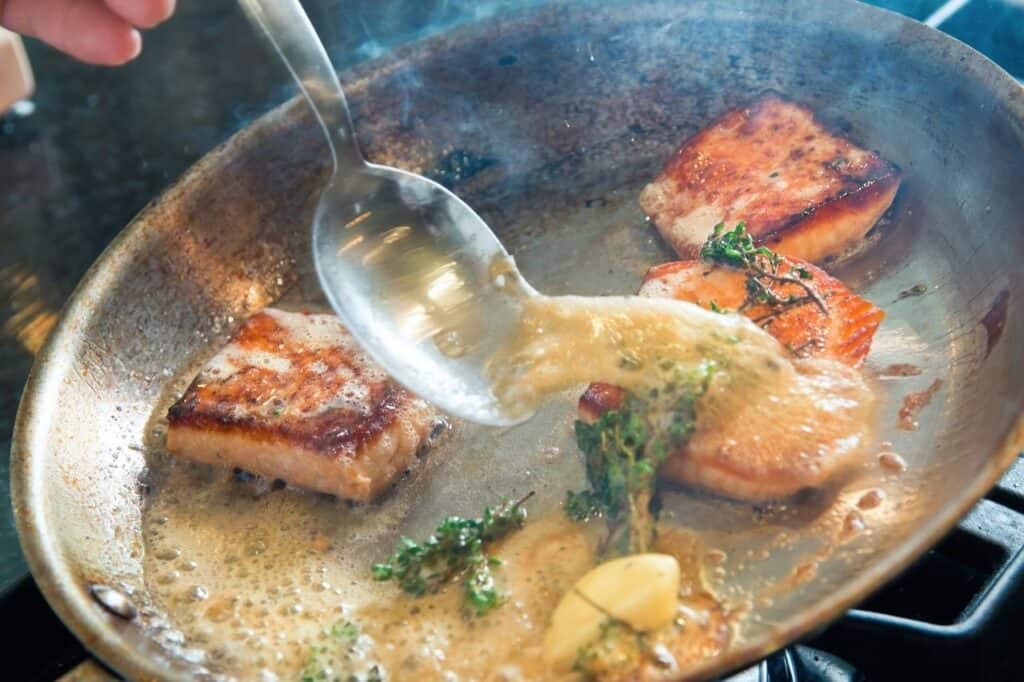
Searing is a standard restaurant method of cooking fish. Chefs usually sear the fish first on the stove until the colour becomes brownish, and they will then put it in a hot oven. They typically use an oven-proof nonstick skillet or pan. Cooking it initially at the stovetop will give your fish a crispy brown skin, and putting it in an oven afterwards will keep the meat moist. This type of technique works well on any fish steak or fillet.
- Does Using Pellet Smokers Dry Out Meat? – Myth or Fact - January 4, 2022
- 12 Best Meats To Cook On A Pellet Smoker - December 30, 2021
- Dry Brining: What, How, Why & More - December 28, 2021